Supabase OAuth: Social Login with Google and GitHub
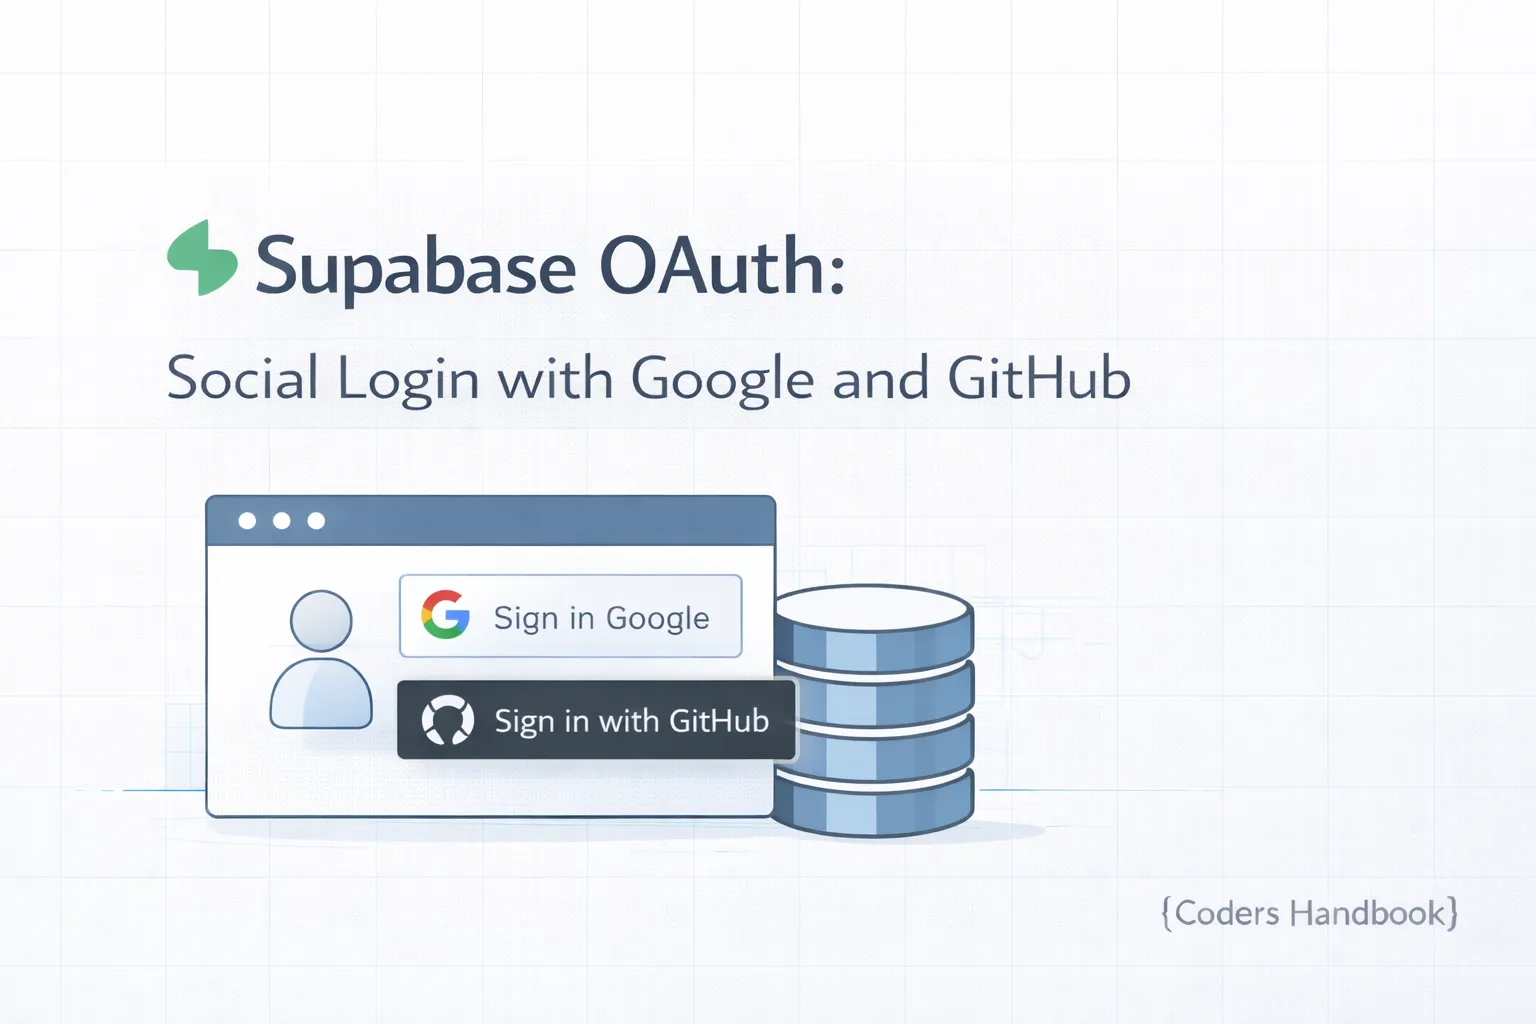
OAuth social login enables users to authenticate with existing accounts from Google, GitHub, Facebook, and 20+ providers, dramatically reducing signup friction, increasing conversion rates, and providing verified email addresses without building complex authentication infrastructure. This comprehensive guide walks through implementing OAuth authentication with Supabase, focusing on the two most popular providers—Google and GitHub—including obtaining OAuth credentials from provider dashboards, configuring Supabase settings, implementing login buttons in React, handling OAuth callbacks, managing user profiles with provider data, and combining social login with traditional authentication methods. Social login is particularly effective for developer tools (GitHub), consumer apps (Google), and platforms where users expect quick signup without password creation. Before proceeding, understand authentication fundamentals and complete Supabase setup.
Why OAuth Social Login?
| Benefit | Description | User Impact | Developer Impact |
|---|---|---|---|
| Faster Signup | One-click authentication | Instant access | Higher conversion |
| Verified Email | Provider-verified addresses | No verification needed | Reduced spam |
| No Passwords | Delegates security to providers | Nothing to remember | Less liability |
| Trusted Brands | Users trust Google/GitHub | More comfortable signing up | Better reputation |
| Profile Data | Access to name, avatar, etc. | Pre-filled profiles | Richer user data |
Supported OAuth Providers
- Popular: Google, GitHub, Facebook, Twitter, Discord, Apple
- Developer Tools: GitLab, Bitbucket, Azure DevOps
- Professional: LinkedIn, Slack, Microsoft
- Entertainment: Spotify, Twitch, Twitch TV
- Other: Notion, Figma, WorkOS, and 20+ more
Google OAuth Setup
- Go to Google Cloud Console: Visit console.cloud.google.com and create a new project or select existing one
- Enable Google+ API: Navigate to APIs & Services > Library and enable Google+ API
- Create OAuth Credentials: Go to APIs & Services > Credentials > Create Credentials > OAuth 2.0 Client ID
- Configure OAuth Consent Screen: Add app name, support email, and authorized domains
- Add Authorized Redirect URIs: Add https://your-project-ref.supabase.co/auth/v1/callback (find in Supabase Dashboard > Authentication > Providers)
- Copy Client ID and Secret: Save the generated Client ID and Client Secret
- Configure in Supabase: Paste credentials in Supabase Dashboard > Authentication > Providers > Google
GitHub OAuth Setup
- Go to GitHub Settings: Visit github.com/settings/developers
- Create OAuth App: Click 'New OAuth App' button
- Fill Application Details: Add app name, homepage URL (your app URL), and description
- Set Authorization Callback URL: Add https://your-project-ref.supabase.co/auth/v1/callback
- Generate Client Secret: Click 'Generate a new client secret' and copy both Client ID and Secret
- Configure in Supabase: Paste credentials in Supabase Dashboard > Authentication > Providers > GitHub
Implementing OAuth Login
// OAuthLogin.jsx
import { supabase } from './supabaseClient'

function OAuthLogin() {
  async function handleGoogleLogin() {
    const { data, error } = await supabase.auth.signInWithOAuth({
      provider: 'google',
      options: {
        redirectTo: `${window.location.origin}/dashboard`,
        scopes: 'email profile',
        queryParams: {
          access_type: 'offline',
          prompt: 'consent'
        }
      }
    })

    if (error) {
      console.error('Google login error:', error.message)
    }
  }

  async function handleGitHubLogin() {
    const { data, error } = await supabase.auth.signInWithOAuth({
      provider: 'github',
      options: {
        redirectTo: `${window.location.origin}/dashboard`,
        scopes: 'read:user user:email'
      }
    })

    if (error) {
      console.error('GitHub login error:', error.message)
    }
  }

  return (
    <div className="oauth-buttons">
      <h2>Log In</h2>

      <button onClick={handleGoogleLogin} className="btn-google">
        <img src="/google-icon.svg" alt="Google" />
        Continue with Google
      </button>

      <button onClick={handleGitHubLogin} className="btn-github">
        <img src="/github-icon.svg" alt="GitHub" />
        Continue with GitHub
      </button>

      <div className="divider">OR</div>

      <a href="/login/email">Log in with Email</a>
    </div>
  )
}

export default OAuthLogin
Handling OAuth Callback
// App.jsx - Automatic callback handling
import { useEffect, useState } from 'react'
import { supabase } from './supabaseClient'
import { useNavigate } from 'react-router-dom'

function App() {
  const navigate = useNavigate()

  useEffect(() => {
    // Listen for OAuth callback
    supabase.auth.onAuthStateChange((event, session) => {
      if (event === 'SIGNED_IN') {
        console.log('User signed in:', session.user)
        console.log('Provider:', session.user.app_metadata.provider)

        // Redirect to dashboard after OAuth login
        navigate('/dashboard')
      }
    })
  }, [])

  return (
    // Your routes
  )
}

// Dashboard.jsx - Access OAuth user data
function Dashboard() {
  const [user, setUser] = useState(null)

  useEffect(() => {
    getUser()
  }, [])

  async function getUser() {
    const { data: { user } } = await supabase.auth.getUser()
    setUser(user)
  }

  if (!user) return <div>Loading...</div>

  return (
    <div>
      <h1>Welcome!</h1>
      <div className="user-info">
        <img
          src={user.user_metadata.avatar_url}
          alt="Avatar"
          className="avatar"
        />
        <p><strong>Name:</strong> {user.user_metadata.full_name}</p>
        <p><strong>Email:</strong> {user.email}</p>
        <p><strong>Provider:</strong> {user.app_metadata.provider}</p>

        {/* GitHub-specific data */}
        {user.app_metadata.provider === 'github' && (
          <p><strong>GitHub Username:</strong> {user.user_metadata.user_name}</p>
        )}
      </div>
    </div>
  )
}
Accessing Provider Data
// Available user metadata from OAuth providers

// Google provides:
{
  "full_name": "John Doe",
  "avatar_url": "https://lh3.googleusercontent.com/...",
  "email": "[email protected]",
  "email_verified": true,
  "phone_verified": false,
  "sub": "google-id",
  "iss": "https://accounts.google.com"
}

// GitHub provides:
{
  "full_name": "John Doe",
  "avatar_url": "https://avatars.githubusercontent.com/...",
  "email": "[email protected]",
  "email_verified": false,
  "phone_verified": false,
  "sub": "github-id",
  "user_name": "johndoe",
  "preferred_username": "johndoe"
}

// Access in your components
const { data: { user } } = await supabase.auth.getUser()

const fullName = user.user_metadata.full_name
const avatarUrl = user.user_metadata.avatar_url
const provider = user.app_metadata.provider // 'google' or 'github'
Supporting Multiple Providers
// LoginPage.jsx - Unified login page
import { supabase } from './supabaseClient'
import { useState } from 'react'

function LoginPage() {
  const [email, setEmail] = useState('')
  const [password, setPassword] = useState('')

  async function signInWithProvider(provider) {
    await supabase.auth.signInWithOAuth({
      provider: provider,
      options: {
        redirectTo: `${window.location.origin}/dashboard`
      }
    })
  }

  async function handleEmailLogin(e) {
    e.preventDefault()
    await supabase.auth.signInWithPassword({ email, password })
  }

  return (
    <div className="login-page">
      <h2>Welcome Back</h2>

      {/* Social Login Options */}
      <div className="social-login">
        <button onClick={() => signInWithProvider('google')}>
          Continue with Google
        </button>
        <button onClick={() => signInWithProvider('github')}>
          Continue with GitHub
        </button>
        <button onClick={() => signInWithProvider('facebook')}>
          Continue with Facebook
        </button>
      </div>

      <div className="divider">OR</div>

      {/* Email/Password Login */}
      <form onSubmit={handleEmailLogin}>
        <input
          type="email"
          placeholder="Email"
          value={email}
          onChange={(e) => setEmail(e.target.value)}
        />
        <input
          type="password"
          placeholder="Password"
          value={password}
          onChange={(e) => setPassword(e.target.value)}
        />
        <button type="submit">Log In with Email</button>
      </form>
    </div>
  )
}

export default LoginPage
OAuth Best Practices
- Request Minimal Scopes: Only request necessary permissions to avoid alarming users
- Handle Email Conflicts: Plan for users who sign up with both email and OAuth using same address
- Store Provider Info: Save which provider users prefer for personalized messaging
- Fallback Options: Always offer email/password as alternative to social login
- Branded Buttons: Use official brand guidelines for OAuth provider buttons
- Implement RLS: Protect user data with Row Level Security regardless of auth method
Common Issues
- Redirect URI Mismatch: Ensure callback URL in provider settings matches Supabase exactly (including https://)
- Missing Scopes: Request appropriate scopes (email, profile) in provider dashboard
- OAuth Consent Screen: For Google, publish your OAuth consent screen for production apps
- Rate Limiting: OAuth providers limit authentication requests; implement proper error handling
Next Steps
- Secure Your Data: Implement Row Level Security policies for all authentication methods
- Build User Profiles: Create profile pages using OAuth user data and avatars
- Add More Providers: Configure additional OAuth providers based on your audience
- Production Deployment: Integrate with Next.js for complete authentication flows
Conclusion
OAuth social login with Google and GitHub dramatically simplifies user authentication while improving conversion rates and providing verified user data. By delegating authentication to trusted providers, you reduce security liability, eliminate password management complexity, and offer users familiar login experiences they trust. Supabase makes OAuth implementation straightforward with built-in support for 20+ providers, automatic callback handling, and seamless session management. Whether implementing Google for consumer apps or GitHub for developer tools, OAuth provides flexibility in how users access your application. Remember to request minimal scopes, handle provider data appropriately, and always implement Row Level Security to protect user information regardless of authentication method. With OAuth mastered, you've completed the authentication trifecta—email/password, magic links, and social login—giving users maximum flexibility. Continue building secure applications with comprehensive security policies and production integrations.
$ share --platform
$ cat /comments/ (0)
$ cat /comments/
// No comments found. Be the first!